How to frame travel photos
Travel photos deserve a display that captures place, light and story.
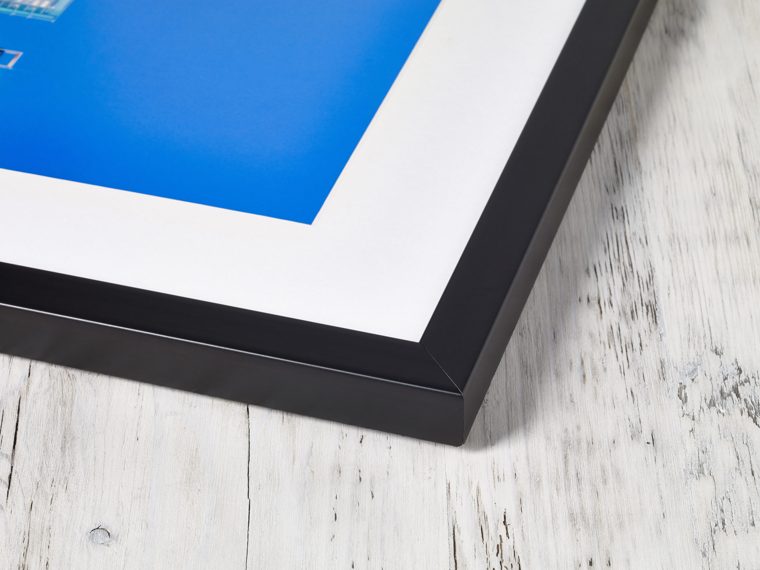
Travel pictures get collected over years, across wildly different light and places, so framed one at a time they rarely sit well together. Treating them as a set — one frame, one mount, varying only the images — is what turns a scattering of holidays into a display that looks deliberate.
Framing travel photos as a set
A single travel photo framed in isolation rarely does justice to a trip, because the memory it represents is really a whole sequence of moments — the flight, the food, the view from the hotel window. Choosing one frame colour and one mount style, then repeating that combination across every image from a destination, is what turns a handful of separate photos into a coherent display. It also solves the practical problem of travel photos being shot on different cameras, in different light, at different times of year, since a consistent frame and mount visually unify images that otherwise have nothing in common.
Choosing the right frame colour
Light or natural oak frames suit beach, desert and Mediterranean trips, echoing sand, sun-bleached wood and pale stone. Dark wood or black frames work better for cityscapes, mountain scenery and moody, overcast light, where a heavier frame matches the tone of the image. White frames flatter tropical and jungle photography, keeping the frame out of the way of saturated greens and blues. If you’re building a themed wall from several trips, pick one frame colour that works reasonably well across all of them rather than matching each photo individually.
Mounts and presentation
A thin white or off-white mount, around 30-40mm, keeps the focus on the image and works well for most single travel photographs. For mixed-media pieces — a boarding pass, a map fragment and a photo together — use a deeper box frame with spacers so each element sits at a slightly different depth without touching the glass. Cream or ivory mounts suit warmer, sun-drenched images better than stark white. Keep mount width consistent across a themed set even if the photos themselves vary in size.
Quick rule: pick one frame colour and one mount width before you start, then apply it to every photo from that trip. It’s the single easiest way to make a random mix of holiday snaps look like a deliberate, curated display rather than a pile of souvenirs.
Size and proportion
Wide, panoramic formats suit sweeping landscapes, coastlines and desert horizons, while tall formats work better for city streets, markets and anything shot looking up at buildings. Group several smaller prints — 8×10in or 10×10in — from the same trip together rather than printing one enormous image, since a cluster reads more like a travelogue than a single poster does. Leave consistent gaps of 50-80mm between grouped frames so the set reads as one composition rather than a cluttered wall.
Glazing for protection
UV-protective glazing matters more for travel photos than most genres, since they’re often destined for a sunny conservatory, hallway or south-facing living room precisely because they’re meant to evoke warmth and light. Acrylic is worth choosing for larger prints, both for its lighter weight when hanging several at once and for its shatter-resistance in busy hallways. Anti-reflective glass helps if the display wall faces a window, which is common for photos chosen specifically to bring outdoor light into a room.
Common mistakes to avoid
Don’t try to frame every photo from a trip — most people come back with hundreds of shots, and framing them all dilutes the strongest images. Curate 3-5 photos per location that actually tell the story of the place, rather than including every meal and every sunset. Avoid mixing too many frame colours and mount widths on one wall, since that’s what makes a travel display look cluttered rather than curated.
Frequently asked questions
How to display travel photos together?
Group 3-5 images per trip using one consistent frame colour and mount width, varying only the print sizes for visual interest. This is what turns photos shot on different days, in different light, into a display that reads as a single coherent memory of the trip. Leave even 50-80mm gaps between the frames so the group reads as one composition rather than a scattered wall.
Best frame for beach travel photos?
Light or natural oak frames echo the brightness, sand and sun-bleached wood tones typical of beach and coastal photography. White frames work almost as well and keep the emphasis on saturated blues and greens in the image itself. Avoid dark wood or black, which can make a bright, airy beach photo feel heavier than it should.
Should travel photos have a mount?
A thin white or off-white mount, around 30-40mm, suits most single travel photographs and keeps focus on the image. For mixed-media pieces that combine a photo with a map fragment or boarding pass, use a deeper box frame with spacers so each element sits properly without touching the glass. Keep the mount width the same across a themed set even if the photo sizes vary.
Related guides
How to frame landscape photos • How to frame panoramic photos • How to frame beach and summer photos
How Emblem Frames helps
At Emblem Frames we remove the guesswork. Upload your photo and our AI analyses colour, subject and mood, then suggests the ideal frame colour, mount and finish. You see a realistic preview before you buy, so you know exactly how it will look on your wall. It’s made-to-order, delivered ready to hang across the UK, with no account needed.