How to create a gallery wall
A gallery wall should feel collected, not chaotic. Here’s how to plan it properly.
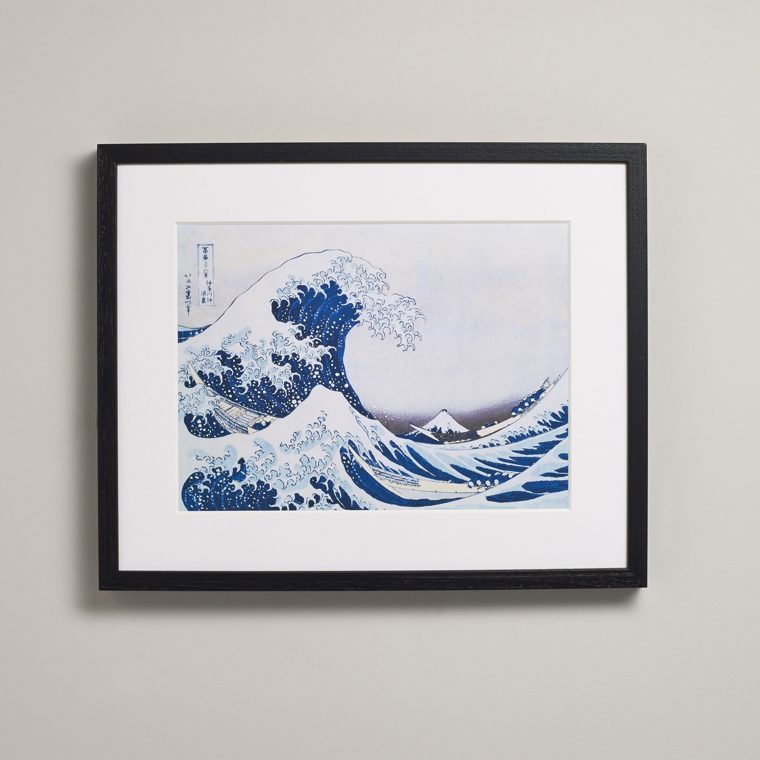
Gallery walls usually fail for one reason: they get assembled on the wall instead of planned on the floor. Laying the whole arrangement out flat, then cutting paper templates before anything is drilled, turns a risky afternoon into one you can adjust freely and repeat.
What makes a gallery wall work
A gallery wall succeeds when it feels curated rather than accumulated, and that comes down to planning before anything touches the wall. Cut paper templates to the exact size of each frame, lay them out on the floor first, then tape them to the wall in your chosen arrangement so you can step back and judge it before drilling a single hole. Live with the paper layout for a day or two — arrangements that look right up close often feel unbalanced from across the room. Only once you’re happy should the actual frames go up.
Choosing the right frame colour
Picking one frame colour — black, natural oak or white are the easiest to commit to — gives an instant sense of cohesion even if the photos themselves are completely unrelated in subject or tone. If you’d rather mix finishes, two complementary options such as black and natural oak can work well together, but only if a shared mount colour ties them visually into one group. What doesn’t work is three or four different frame colours competing for attention; the wall starts to look like leftover stock rather than a considered display.
Mounts and presentation
Keeping mount width consistent is what allows different photo sizes to sit comfortably in the same arrangement — a 40mm white mount around a small 8×10 print and the same 40mm white mount around a large 16×12 print makes the size difference feel deliberate rather than mismatched. If you want more warmth, swap white for ivory or warm grey, but keep that choice consistent across the whole wall too. Acid-free board such as Snow White or Hayseed is worth requesting if any of the photos are prints you want to last for decades.
Once your paper templates are up and you’re happy with the arrangement, photograph the wall before you drill anything. It’s much easier to check spacing and alignment from a photo on your phone than by eye at arm’s length, and you’ll have a reference to hang frames back in the same spot if you ever redecorate.
Size and proportion
Once your paper templates are laid out on the floor, resist the urge to space everything in a perfectly even grid — a mix of sizes with a consistent 3–5cm gap between frames reads as far more natural and considered than uniform spacing around uniform sizes. Choose one larger piece, ideally 16×12 inches or bigger, as a central anchor, then build smaller frames outward from it in a loose triangle or grid. Most successful gallery walls span between four and nine frames; beyond that, consider splitting the collection across two walls instead.
Glazing for protection
Matching glazing type across the whole wall matters more on a gallery wall than on a single frame, because inconsistent reflections between neighbouring pieces are much more noticeable side by side. In a bright room — south-facing walls, or anywhere near a window — anti-reflective glass keeps every frame equally easy to view without one piece glaring while its neighbour looks clear. Acrylic is worth considering throughout if the wall is in a hallway or family space where frames might get bumped, since it’s lighter and shatter-resistant.
Common mistakes to avoid
Hanging too high is the single most common gallery wall mistake — centre the overall arrangement around 150cm from the floor, roughly average eye level, rather than centring it on the wall itself. Overcrowding is the second: leaving no breathing room between frames makes even a well-chosen set of photos feel cluttered, so stick to a consistent 3–5cm gap rather than pushing frames edge to edge. Finally, don’t skip the paper template stage — patching extra nail holes into a feature wall is far more visible than the ten minutes it takes to plan first.
Frequently asked questions
How far apart should gallery wall frames be?
3–5cm apart gives a relaxed, gallery-like feel with enough breathing room between frames, while 2cm suits a tighter, more graphic grid layout. Whichever gap you choose, consistency matters more than the exact measurement — use a spare offcut of card or mount board cut to that width as a spacer while you’re positioning frames, so every gap matches exactly. Mixing gap widths on the same wall is one of the quickest ways to make an otherwise good layout look uneven.
How high to hang a gallery wall?
Centre the main pieces of the arrangement around 150cm from the floor, which approximates average eye level when standing. If the wall is above a sofa, sideboard or bed, hang the whole arrangement 20–25cm above the furniture rather than measuring purely from the floor, and let the group span roughly two-thirds to three-quarters of the furniture’s width. Adjust down slightly in rooms where you’re mostly seated, such as a dining room.
Mix frame styles or keep consistent?
Keep frame colour and mount width consistent across the whole wall, and let the photo content and frame sizes provide the visual interest instead. One frame colour, or at most two complementary finishes tied together by a shared mount colour, reads as a considered collection rather than mismatched leftovers. This consistency is especially important on larger walls with eight or more frames, where even small variations become obvious at a glance.
Related guides
How to frame family photos • How to frame portrait photos • How to hang frames correctly
How Emblem Frames helps
At Emblem Frames we remove the guesswork. Upload your photo and our AI analyses colour, subject and mood, then suggests the ideal frame colour, mount and finish. You see a realistic preview before you buy, so you know exactly how it will look on your wall. It’s made-to-order, delivered ready to hang across the UK, with no account needed.